Accessing the Screen
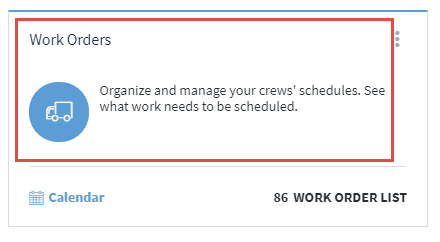
From the Dashboard, click anywhere (other than the links at the bottom or the 3 dots in the upper right hand corner) on the Work Orders app tile. You can also open the screen by clicking on the Go to Work Order List link on the Calendar screen.

-OR-
Screen Options

- Date Range- Filters the work orders that are visible in the grid.
- Selected / All- Applies to the Print Work Order, Print Route List and Create Invoices buttons. The All option will print/create invoices for all work orders showing on the grid (even those on subsequent pages). The Selected option will only print/create invoices for the work orders that are selected by checking the box on the left side of the row.
- Print Work Order / Route List- Print Work Orders our Route Lists. Both options have the same general information on them. The main difference is that work orders will print one customer per page whereas the Route List will fit as many jobs on a page as will fit.
- Create Invoices- Creates Invoice(s) for the selected work orders. The invoices are then synced with QuickBooks.
- Filter Views- Filter views allow you to quickly view a specific group of Work Orders. The default filter view is "All in Date Range."
- Select Row- Clicking a row will take you to the Edit Work Order screen for the selected row.
- New Work Order- Click to go to the New Work Order screen.
- Settings- Show or hide columns in the grid.
- Download- Download the records in the grid to an Excel file.
- Search- Search for records in the grid. The search will look for a match in any of the visible fields. The search field DOES NOT override the filter view (5.).
- Advanced Search- Search for records in the grid. Can specify which field you would like to search and allows searching multiple fields.

Comments
0 comments
Please sign in to leave a comment.